Remote Neovim for Dummies
What if I told you that you didn't need tmux?
Introduction
What if I told you there was a quick and easy way to remote into an instance of neovim without any additional dependencies? For quite some time there has been a way to do this, however it is not often talked about in the community in favor of other options such as tmux or Zellij. I’m sure even GNU Screen gets talked about more than --listen and --server do.
Setting Up the Server
To begin using neovim as a server, you just need to invoke it with the --server flag. The --server flag can take a UNIX socket or an HTTP listening address. For simplicity’s sake, I always use an HTTP address.
1
nvim --listen http://127.0.0.1:9000
Setting Up the Client
In a separate window, you can start neovim with the --server and --remote-ui flags, specifying the address you’re listening on for the --server argument.
1
nvim --server 127.0.0.1:9000 --remote-ui
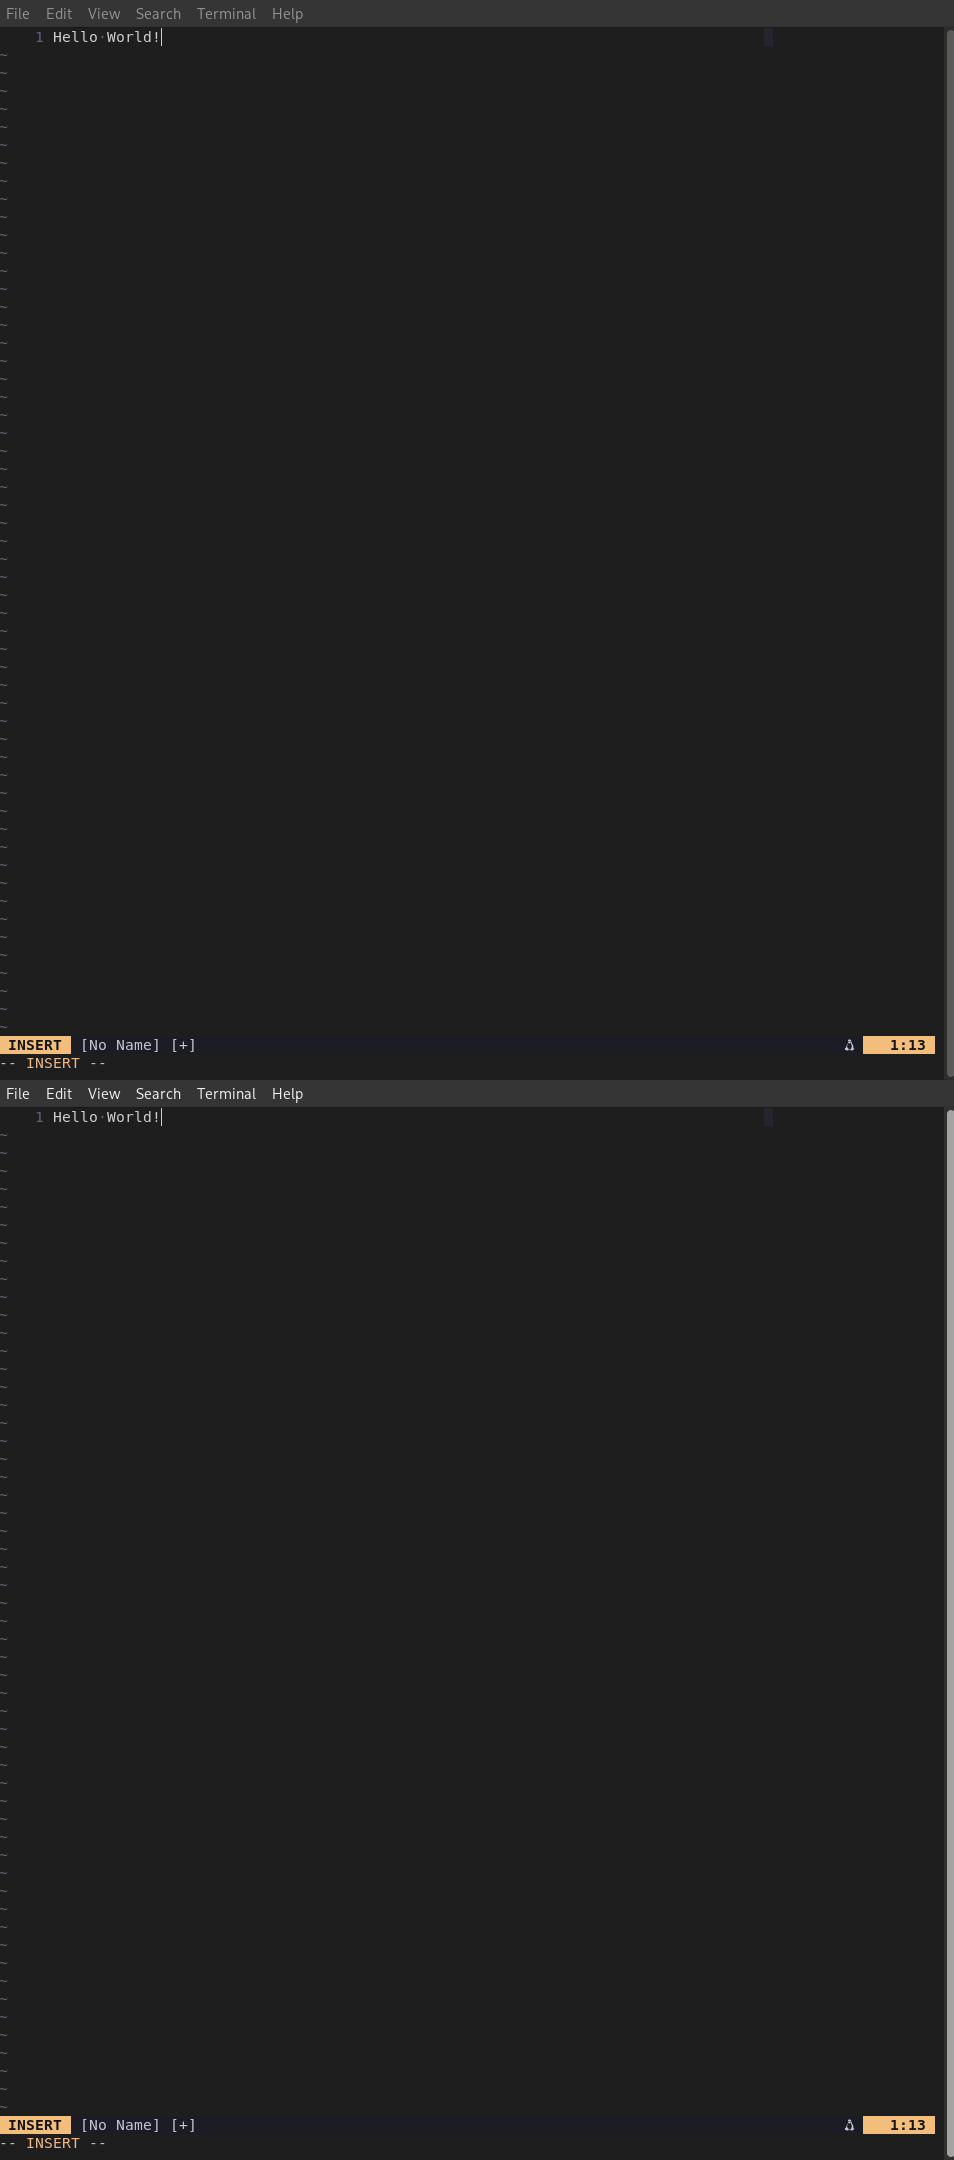
Now, when you type, you can see that both your server and client are mirrors of each other!
When you are done, if you use the :detach command, you can detach from the neovim server without losing the files you have open. Connecting again will allow you to resume editing where you left off and exiting the remote server can be done by invoking :qall like normal.
Making the Server Headless
Making the server headless is as easy as adding the --headless option to neovim.
1
nvim --headless --listen http://127.0.0.1:9000
NOTE: You may need to :set termguicolors if you don’t have it set. Certain plugins and Neovide will do this for you if you don’t have it set, but --listen will not.
Running the Server as a Service
You can easily set up neovim as a user systemd unit (or as a Scheduled task in Windows). Here’s an example systemd unit I use to remotely attach to VMs in my local LAN.
1
2
3
4
5
6
7
8
9
10
11
12
13
14
15
# /etc/systemd/user/nvimd.service

[Unit]
Description=Neovim Daemon Service
After=network.target

[Service]
Type=simple
ExecStart=/usr/bin/nvim --headless --listen 0.0.0.0:9000
Restart=always
RestartSec=5
WorkingDirectory=%h

[Install]
WantedBy=default.target
You can enable this service with sudo systemctl daemon-reload and systemctl --user enable nvimd.service, then starting it with systemctl --user enable nvimd.service remember to make user systemd units persistent after logout with sudo loginctl enable-linger $USER.
Conclusion
And that is it. In future posts, I plan on addressing subjects like how to best use :terminal, improving this workflow with Neovide, and a review of my current Neovim Config.

